Creating A
Clear Cut Glass Orb From Scratch
With Paint Shop Pro
All that is needed to do this tutorial is a basic knowledge of Paint Shop Pro and a tube or image of your choice. No outside filters required.
This tutorial is dedicated to Sig. Without her help, I would still be clueless as to how to make an orb that actually looks like clear cut glass. I have Sig's permission to write this tutorial and here is a link to her site, Sig's Place
The orbs were made in PSP 9 but I know you will get the same results with version 8 and hopefully version 7.
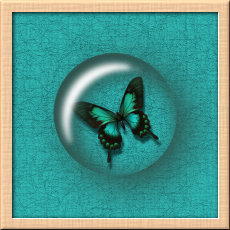
Start with a new image 500 X 500. Mine are resized for this tutorial. I used one of the butterflies tubes from PSP but you can use any image you like. Do not place your image directly in the middle as you will need to make room for the shadows. Click on the selection tool, choose circle and draw a circle around your image as in the example below. Do NOT put a check in the anti-alias box. Yes, I know the orb may look a little jagged but it makes for a crisper glass. You will be resizing and that should take care of any jaggies.

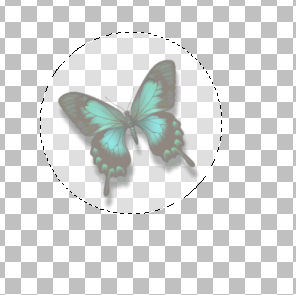
Add a new layer and fill the circle with white. Slide the opacity to 50 so you can see your image. This layer will be deleted at the end of the lesson. It should now look like the example below. If you like to move your image, make it active and move with the deformation tool. (If you get the message "Selection must be promoted to a full layer" just click ok. Then in the layer palette, delete the promoted layer, and you will be able to move your image with the deformation tool.) Deselect.
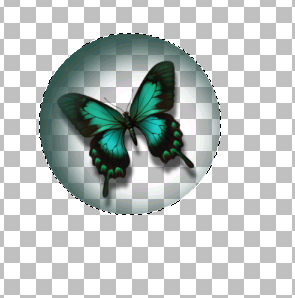
Next, make sure the white circle layer is active and click on the magic wand, set the match mode to "All Opaque." Make sure the anti-alias is NOT checked. Click the white circle with the magic wand. Now make the white circle layer invisible and add a new layer. Click on Cutout and use these settings. Vertical 18, Horizontal 22, Opacity 100 and Blur 88.12. Decide what you are going to use the orb for and choose your shadow color. You can pick a color that matches your background or a complimentary color. The trick is to use a very dark shadow. It does not have to be black but it you want the color blue, then pick a very dark blue, If you want the color red, then pick a very dark red. I think you get the picture. :) For my shadow color, I chose green, R-48, G-82, B-76. The Html value is #30524c. "Fill with interior color" is NOT checked. Click Ok. Add a new layer and click on cutout again and use the same settings. This is what the orb should look like.
Add a new layer. Next we are going to add a drop shadow. Use the same color as your cutout. Use these settings, Vertical 21, Horizontal 25, Opacity 100 and Blur 96.04. This is what it should now look like.
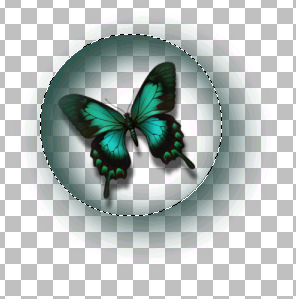
Our orb is beginning to take shape but it still needs some work. On to Part Two of this tutorial.