Creating The Highlight
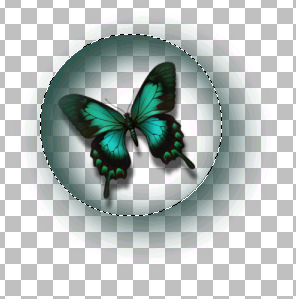
Below we have our glass orb. Looking good but kind of drab. Lets add some depth and give it that clear cut glass look.
If your orb is still
selected, deselect. Add a layer.
Using
your selection tool draw a circle a little smaller then the orb. Fill with
white. You should have something like the image below.
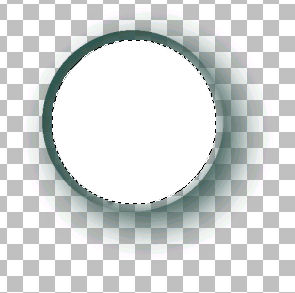
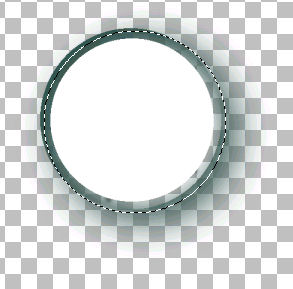
Deselect. Add a layer. Using the selection
tool, choose circle again and this time make the selection a tad bigger then
your white circle, like the example below.
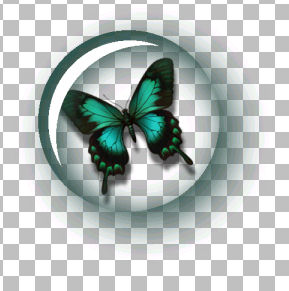
Now move the selection until you see the shape of a crescent moon take hold.
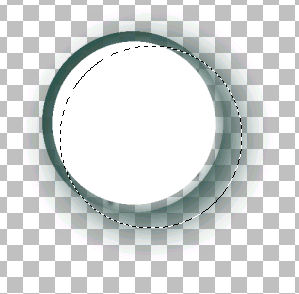
Make sure that your white circle is
highlighted in the layer palette and hit the delete button and deselect.
You should have something like the highlight below. Move the highlight
where you want it. Next we want to fade those ends a bit.
Choose the eraser brush with these settings: Round #10, I usually use size
30 but it depends on the size of the highlight. Hardness 7, Step 10, density
100, thickness 100, rotation 156, opacity 35. All you want to do is erase
the tips at each end as in the example below.

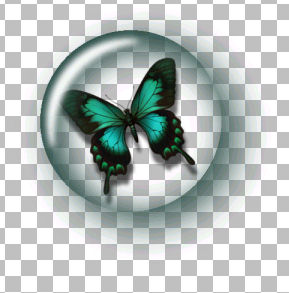
Add a gaussian blur of 5. If you like, you can blur it a little more. Move the highlight where you want it. Delete the white circle that you made at the beginning of the tutorial.
At this point, I would save as a PSP image with all the layers intact. Duplicate your image and close the original. Merge the layers and for different effects, use the "Fisheye Distortion Correction," Barrel Distortion Correction and effects like it. Resize to the size you need.
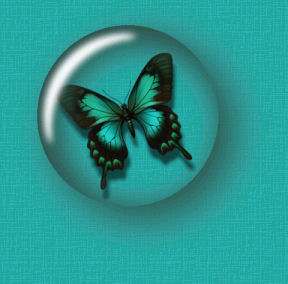
This is what it looks like with a background.
The orbs are great for digital scrapbooking. Here is a
Digital
Scrapbook Layout
I made with several of these clear cut glass orbs.
I hope you found this tutorial helpful.
Back To Part One
My Home Page